Showing posts with label braid. Show all posts

Sunday, August 14, 2011

Style With Feather Extension, Great For Tweens!

For a birthday present, Aubrey's friend brought her to get a hair and feather extension. She was very excited to show off her new bright pink hair so we came up with this simply sweet 'do.


To start, I parted her hair and grabbed a section in front of and behind the extension, but not including the extension. This was done to ensure the connector bead would not be visible after the style was finished.


Next I french braided around her crown, only taking sections of hair from the top. The braid was ended just short of the back of her head.


Then the other side was braided the same way.


I purposly did not have the braids end directly together so there wouldn't be a part in the finished style. Next I secured the two braids along with the middle section of hair.


And took out the ends of the original braid and added some curls.


In the end she was able to show off her new extension and her hair was kept up and out of her face!


Total braiding time: 10 minutes.


Tuesday, April 13, 2010

Double The Fun Braided Headband

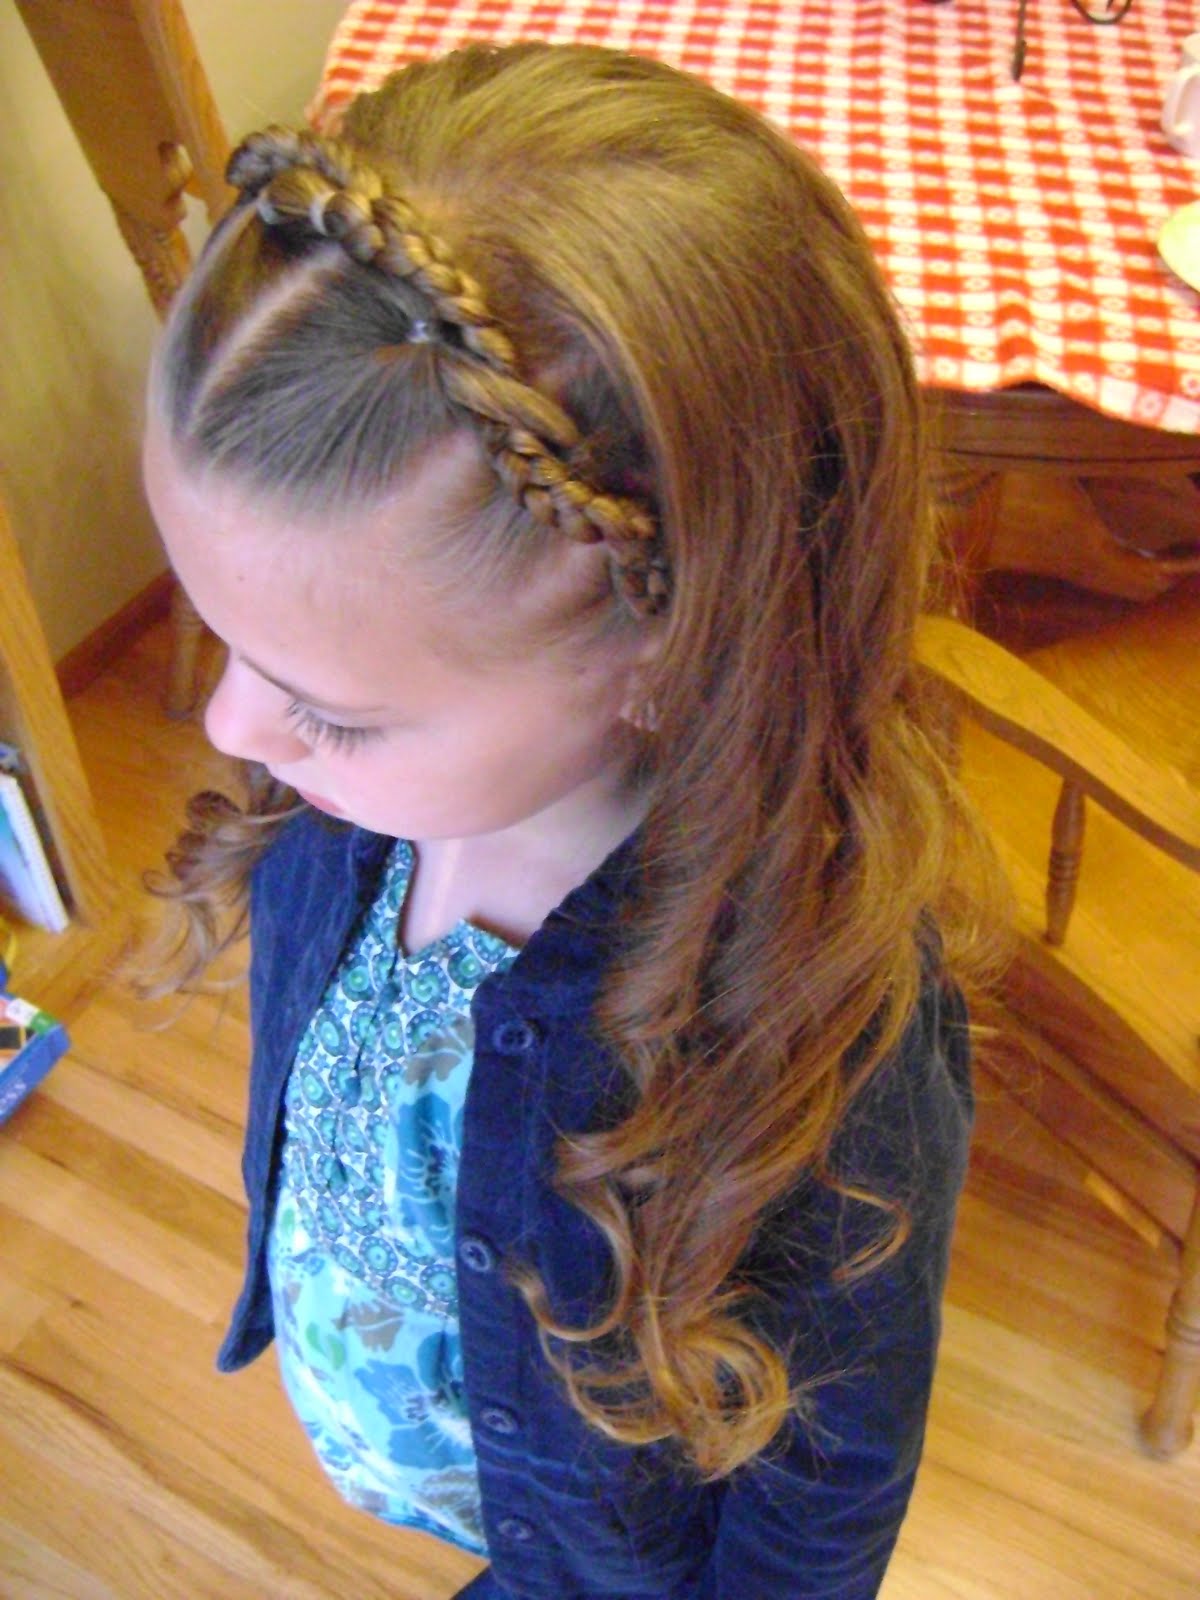
Usually Aubrey's hair is in an updo style but today we were looking for something a little different. This is what we came up with.
To start, I sectioned out the front of her hair and pulled the rest into a pony. Then I parted that hair down the middle of her head and made puff braids on each side.
This is what the top of her head looked like:
Next, added an extra elastic to each side.
Using another elastic, loosely connected the two tails while crossed over each other.
Then, just braided each tail.
Next, I got out my trusty Topsey Tail and used it to weave the braided tails in and out of the puff braid. (sorry for the bad picture)
This is what it then looked like:
I took the ends of the braids and connected them using a clear elastic at the base of her head. If your working with shorter hair, you could make pigtails and just at the ends to them.
Curled the ends of her hair and we were good to go!
This was actually a really quick style! Curling her hair took longer than the rest of the 'do.
It also held up well through the entire weekend!


Wednesday, March 24, 2010

"X Marks the Spot" made easy

I am really busy this week so this is a quick post of my absolute favorite hairstyle.
I saw the "X" Marks the Spot post by Jenn over at Girly Do Hair Styles and fell in love with it immediately! The only problem; I really struggle with dutch braids. In order to pull off the look without the work, I began with seven rope braids. The top of each rope braid was started with a pull through using my trusty "topsey tail" to give it a more finished look.
I then gathered all her hair that was not included in the braids into a low pony and attached the rope braids to it. Everything after this point was the same that Jenn did~ laced it up with ribbon and made a messy bun. Since rope braids are fast and easy, this style actually didn't take that long. Aubrey wore this for the entire weekend and was still receiving compliments on Sunday.


Monday, March 8, 2010

Easy Braided Headband

I originally saw THIS post over on one of my favorite blogs~
I then put my own twist on it and this is what we got:
a quick, fun style that keeps the hair
out of Aubrey's eyes and lasts through a day of kindergarten!


To start, I made five ponies on the top of her head
where our "headband" would be.

At this point, her hair that was not in the
ponies was pulled to the side where the "headband"
would end and secured with an elastic.
Next, I braided the first pony.

Then connected that braid to the next pony.

This was continued across her head. The last braid was
added to side pony.

I made a messy bun with the unbraided hair
and added a matching flower clip.


As Aubrey would say "easy, peezy, lemon squeezy"!